In a previous post, we wrote about the gardening group’s ‘productive planters’. In this post, we look in a bit more detail at how the planters were installed.
Step 1: Choosing a good spot
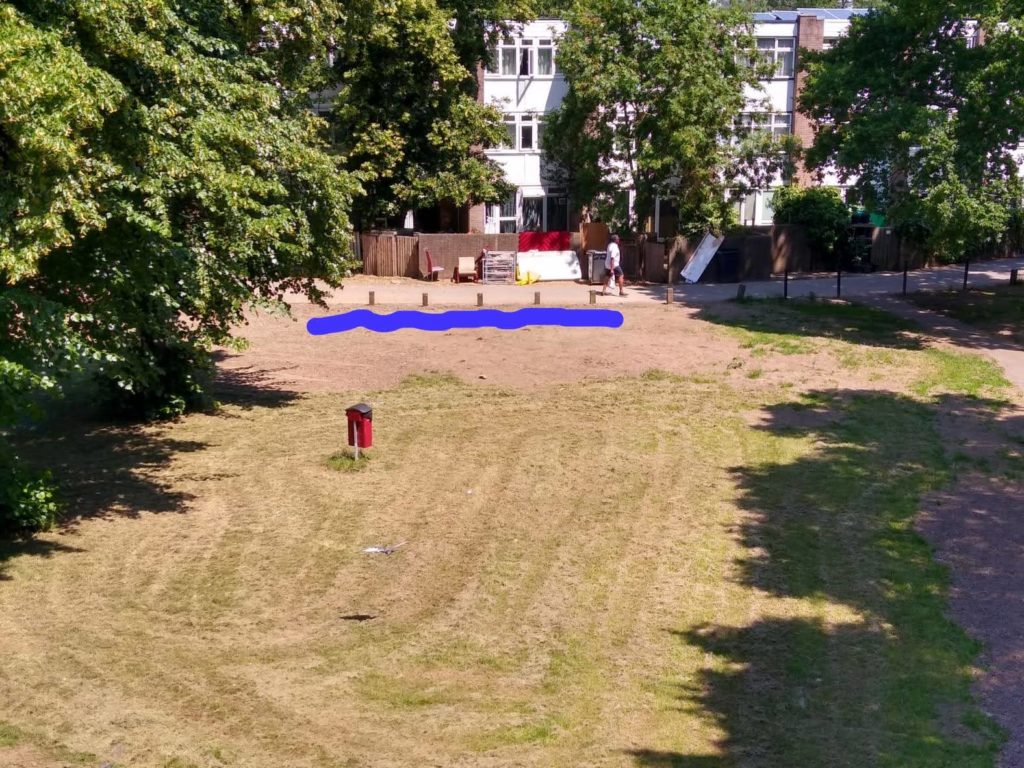
We chose the area between the service road and Chalner, Despard and Ponton Houses. This spot gets good sunlight for most of the day. Lots of residents pass by and can enjoy seeing the plants grow and help to pick the produce. Also, several members of the gardening group live close by and can help with watering. We informed Lambeth Council, as the legal landowners, of our plans.
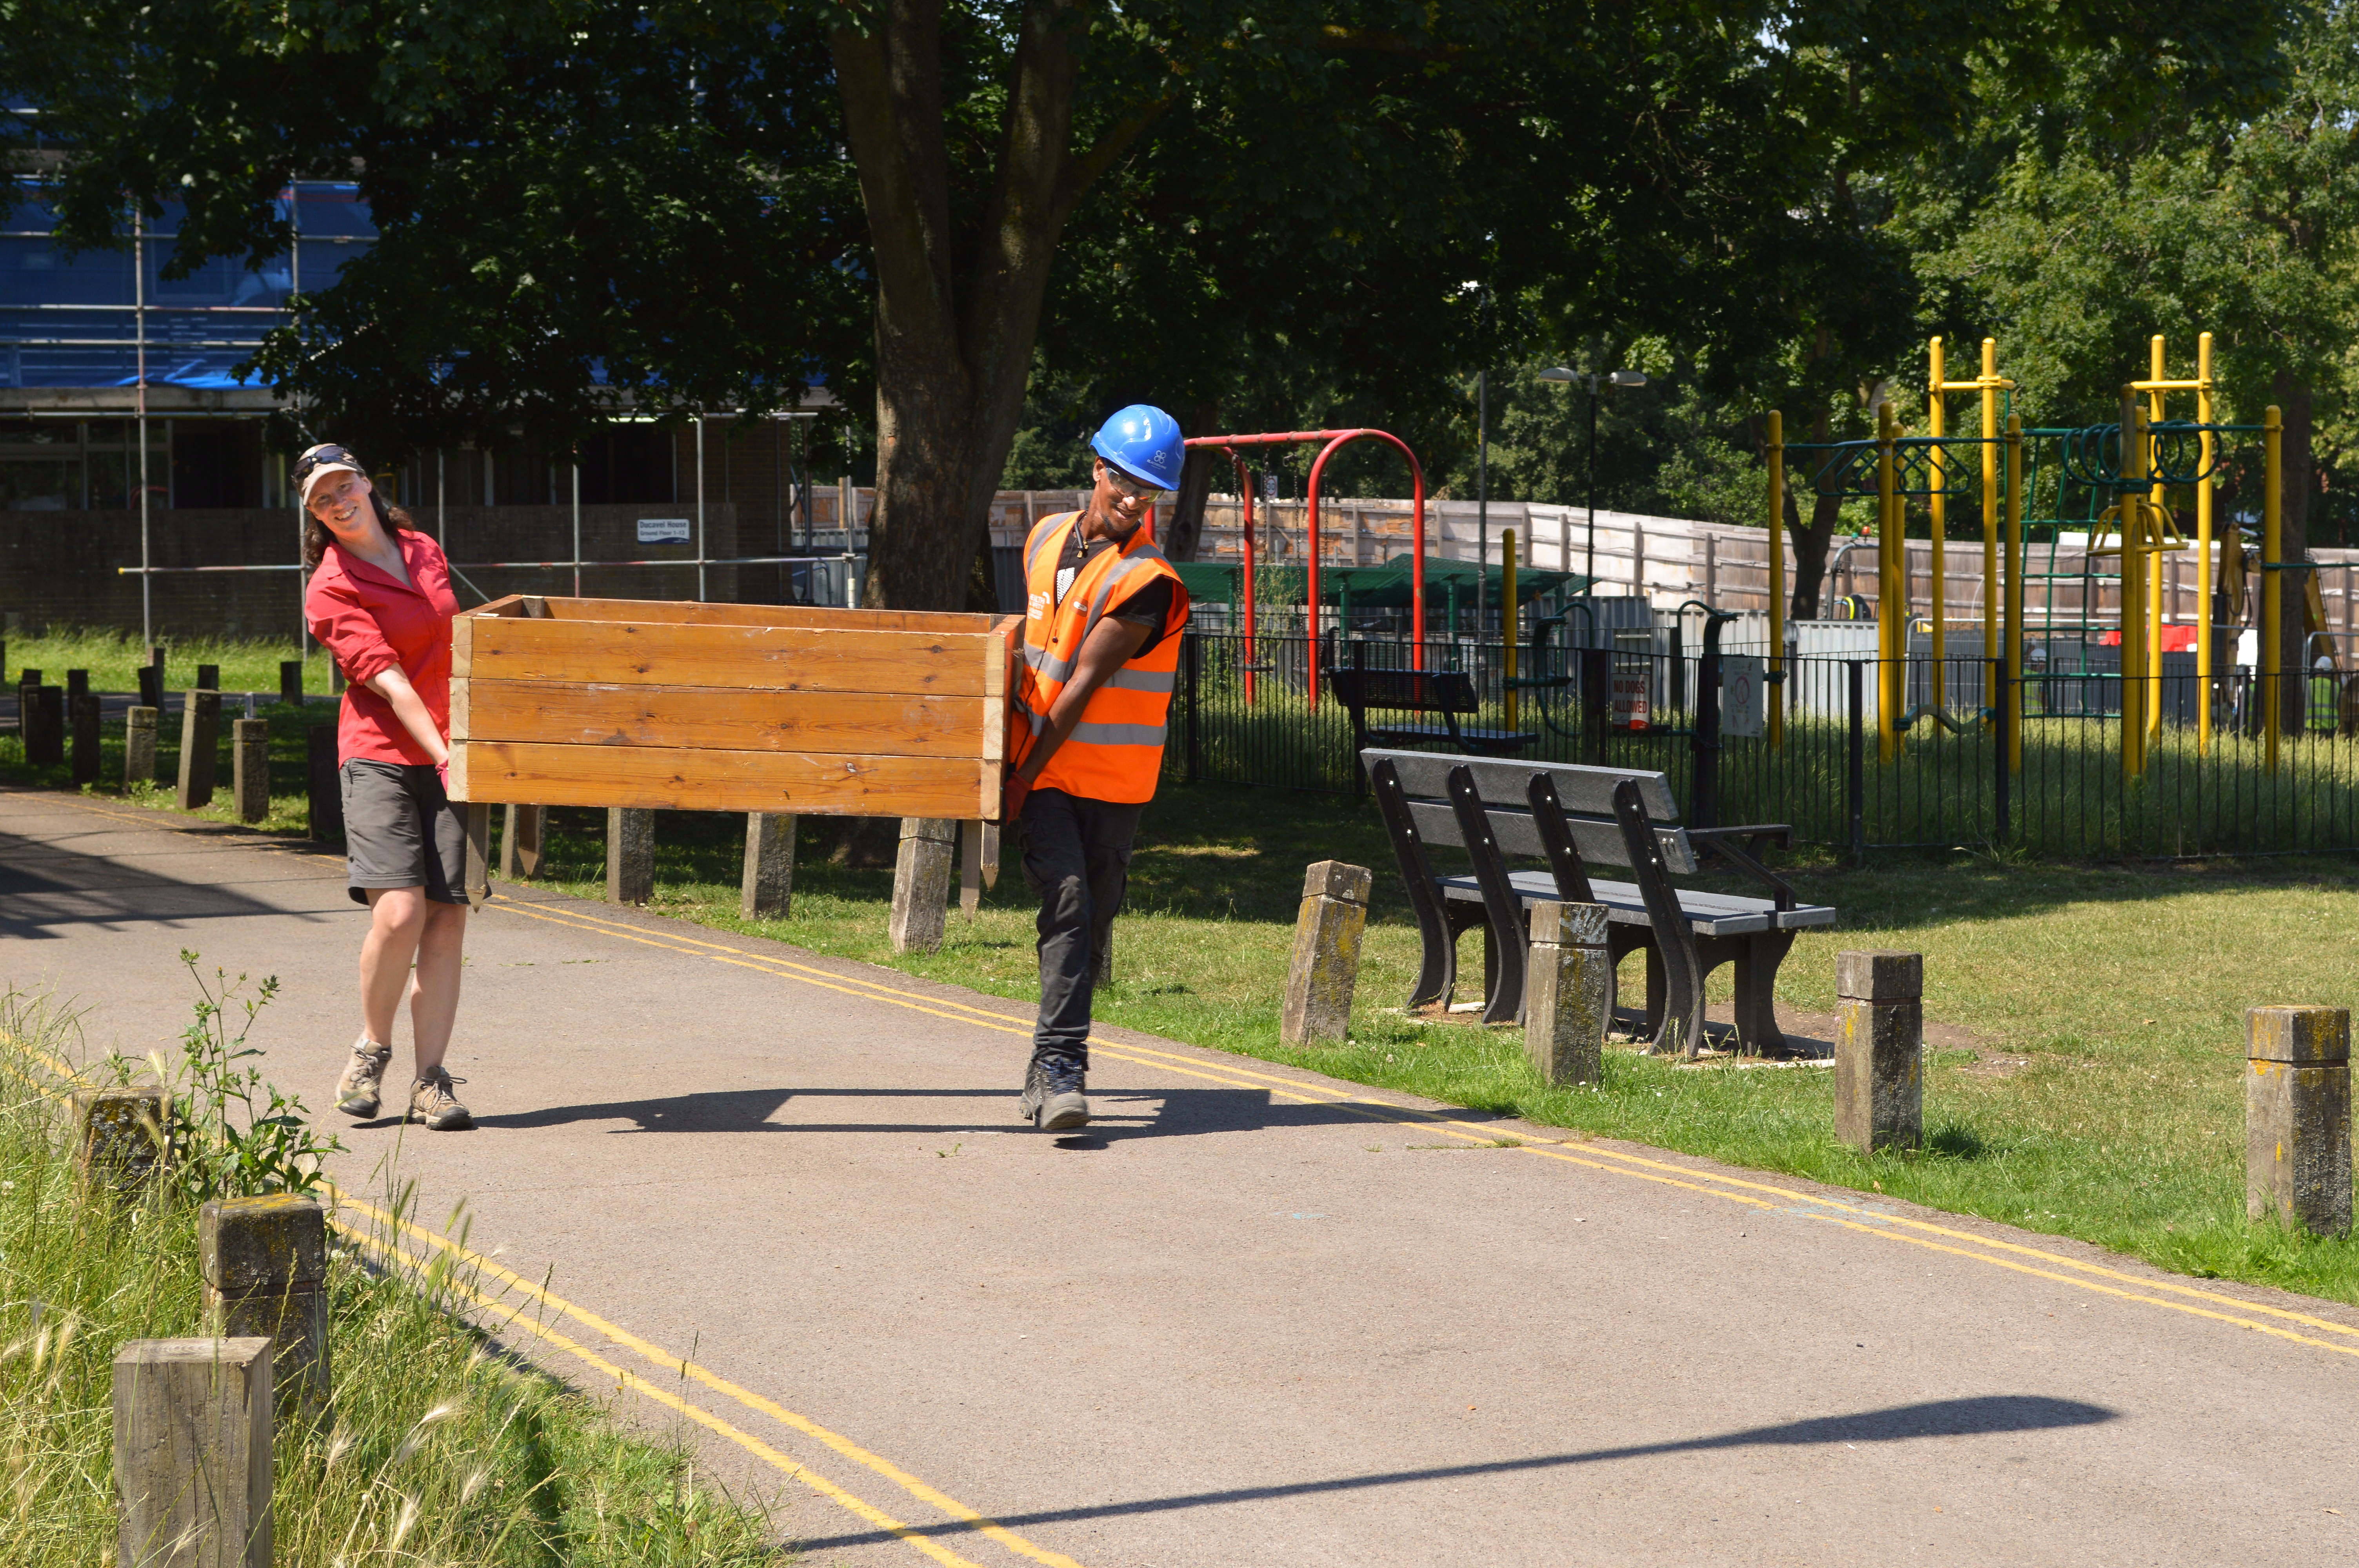
Step 2: Moving the planters into place
The planters were made by Farrans at the Resource Centre construction site with wood salvaged from the old shop. We carried them through the estate to their new home.
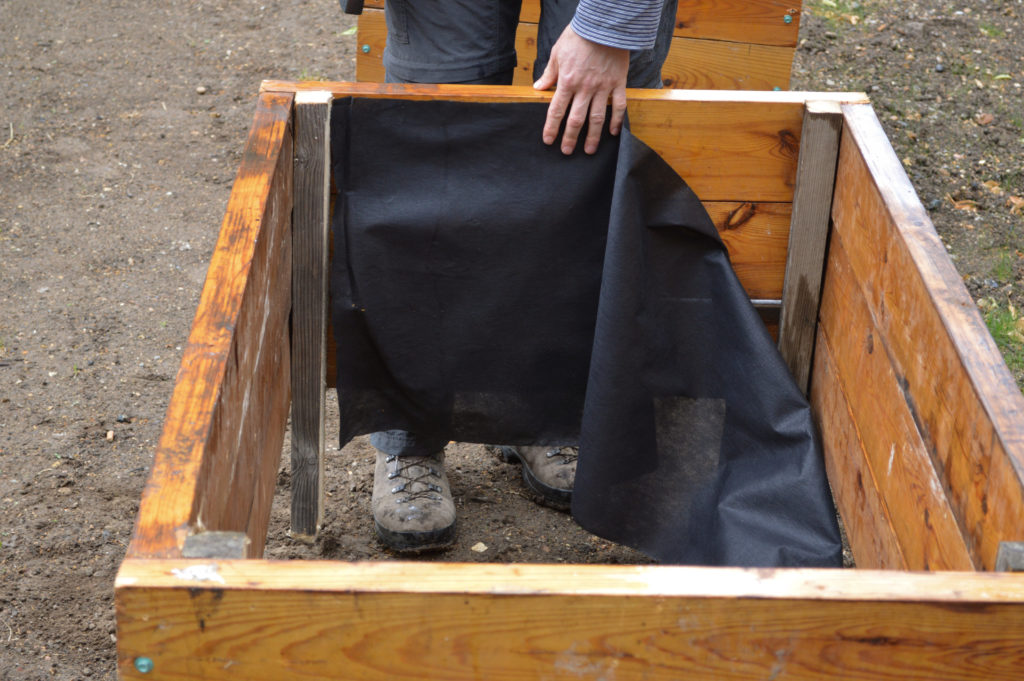
Step 3: Lining the planters
Next, we lined the planters. The material was kindly donated by Iain Houten from Mawbey Farm on Mawbey Brough Estate in north Lambeth. We used a staple gun to secure the liner to the planter.
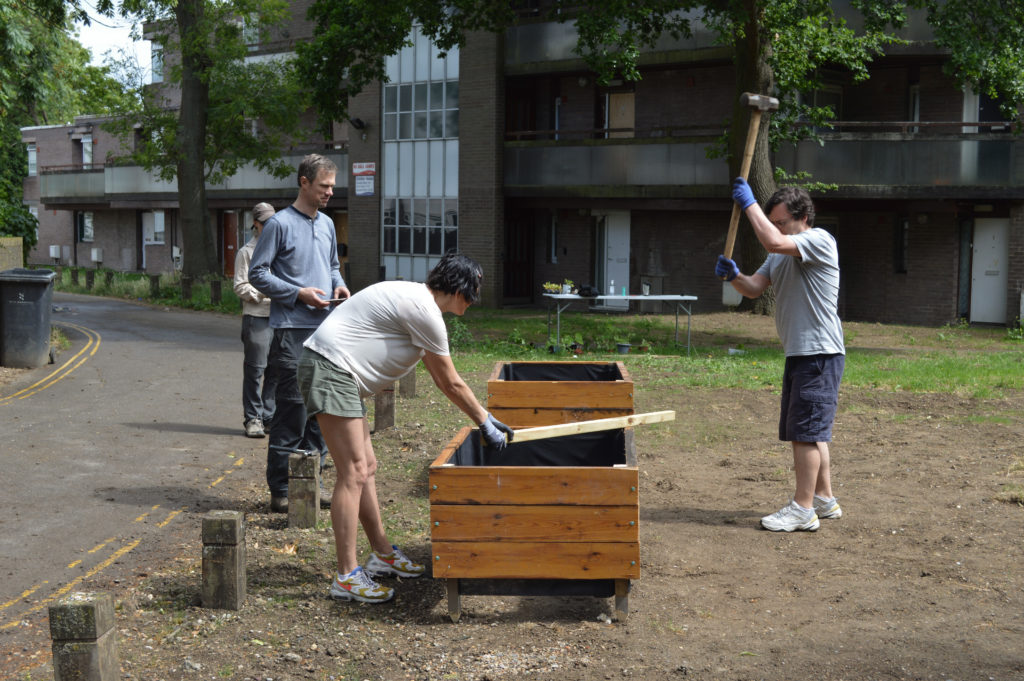
Step 4: Knocking the planters into the ground
We knocked the planters into the ground using a very big hammer to ensure that they would be stable and wouldn’t move.
Learning point: The lining material started to come off whilst we were knocking the planters into the ground. When we installed two further planters the following weekend, we lined the planters after knocking them into the ground. That worked much better.
Learning point: The ground is very hard in this area of the estate and it was very difficult to knock the first two planters into the ground. We asked Farrans to make the next two planters with much shorter legs. That made this step much easier.
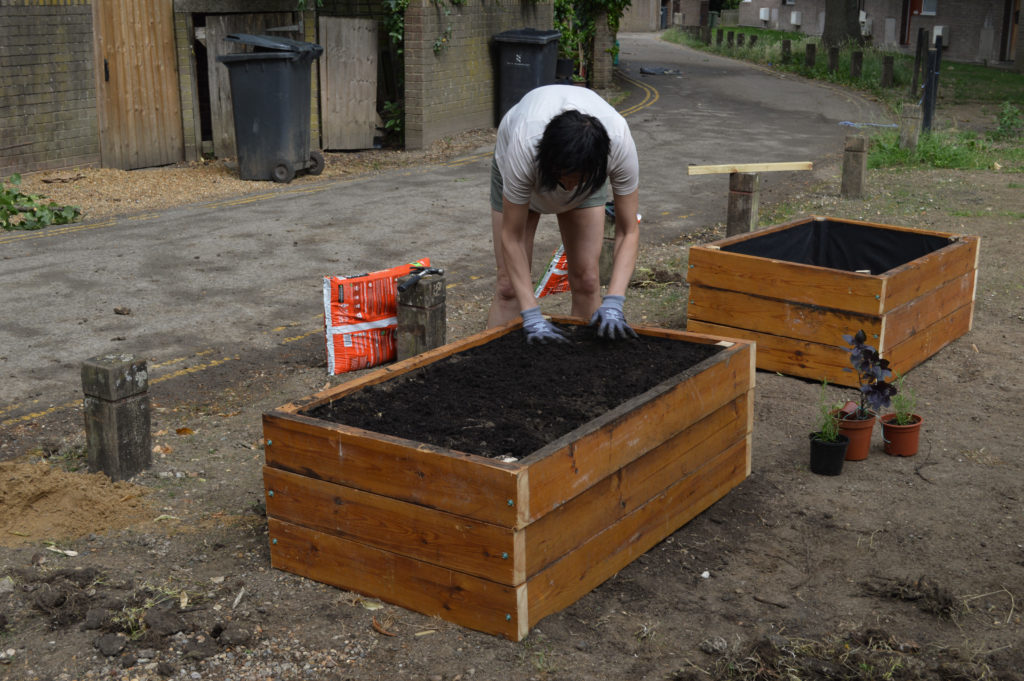
Step 5: Filling the planters with soil and compost
We filled the planters with soil which Farrans had given us from the Resource Centre construction site. We added compost on the top. This had been kindly donated by Pinnacle.
Step 6: Planting seedlings
Children from the estate, helped by their parents, planted seedlings in the new planters.
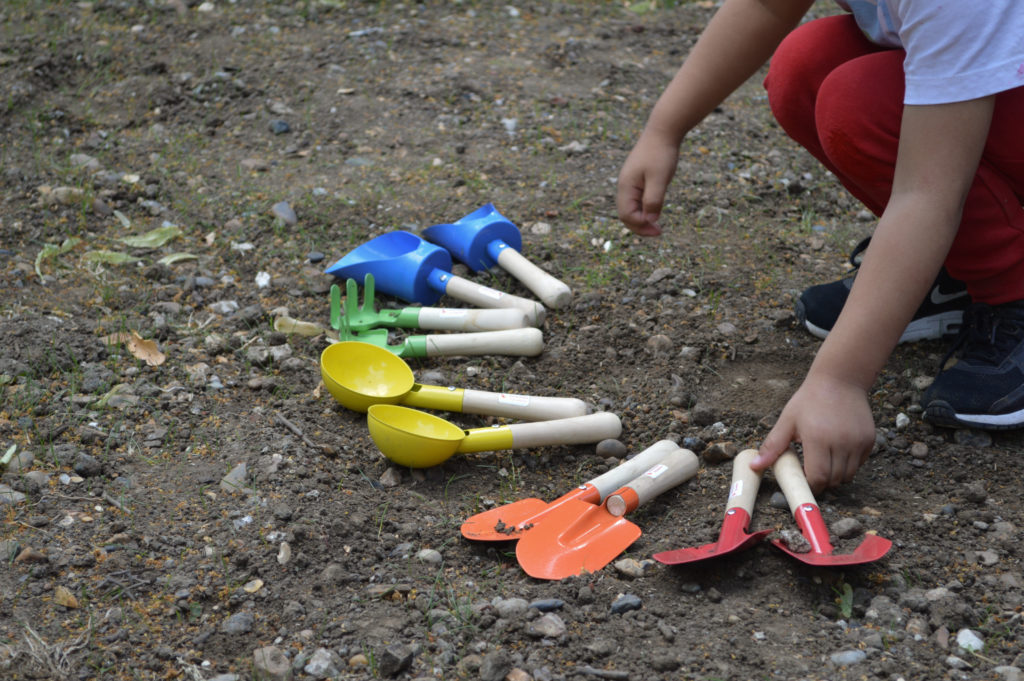
Photo credit: Deborah Ajia
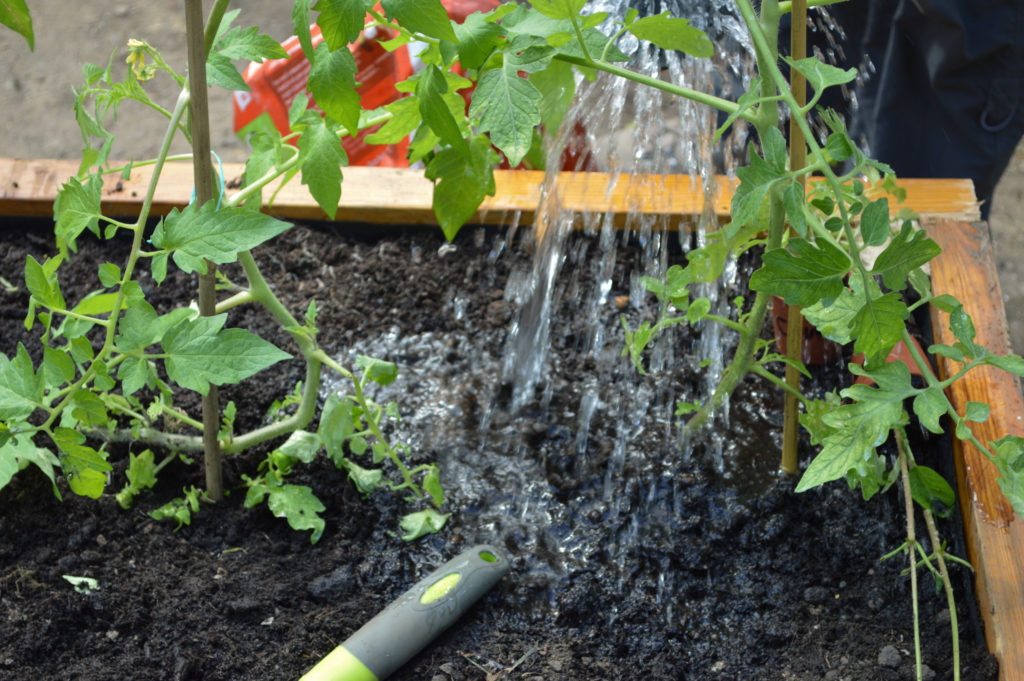
Step 7: Watering the new seedlings
The children watered the seedlings after planting them. A team of residents from the estate is continuing to water the plants every day.
Would you like to get involved with the Palace Road Estate gardening group? If so, do get in touch by email at gardening@prera.org.uk